A Beginner's Guide to Map and Compass Navigation in the UK Hills
The first time fog closes in around you on a Welsh ridge or a Cairngorm plateau, the map stops being a folded piece of paper in your rucksack and becomes the most useful thing you own. Navigation isn't a dark art reserved for mountaineers. It's a handful of habits — reading scale, taking a bearing, counting paces — that anyone can learn on a gentle walk and then rely on when the weather turns.
Map scales: what you're actually looking at
Almost every hill map sold in the UK uses one of two scales, and knowing which one is in your hand changes how you read it.
At 1:25,000 — the Ordnance Survey Explorer series, and Harvey's larger-scale maps — one kilometre on the ground is four centimetres on the paper. Walls, small streams, individual crags, woodland edges and isolated buildings all appear. That detail is what you want when you're crossing rough ground in poor visibility.
At 1:50,000 — the Landranger series — a kilometre is two centimetres. The sheets are lighter and cover more ground, so two Landrangers often do the work of three or four Explorers. You lose the small stuff: paths can be generalised and field boundaries vanish.
Both usually show contours at ten-metre intervals, and following one with your thumb will tell you the height of the ground you're on. Note that distance on paper is not distance walked. A straight two-kilometre line across a contoured hillside costs far more time and effort than two kilometres along a valley track. Use the scale bar at the foot of the sheet, then apply judgement.
Grid references, without the panic
The National Grid divides the UK into 100km squares, each with a two-letter code — NY for the northern Lakes and southern Scotland, SH for Snowdonia, and so on. Inside each square, references give eastings first, then northings. The old mnemonic still works: along the corridor, then up the stairs.
A four-figure reference like NY 2807 puts you in a one-kilometre square. Six figures, such as NY 285 075, narrow it to 100 metres — close enough to find a path junction or a small shelter in mist. Eight figures get you to ten metres, which is more precision than most walkers need.
To read one, find the square, then estimate the tenths across and up. At 1:25,000, a tenth of a grid square is 4mm on the paper. Mark the point with a pencil cross while it's fresh in your mind; there's nothing worse than a note you can't place six hours later.
Taking a bearing from the map
This is the core skill, and it takes about thirty seconds once you've done it a few times.
- Lay the compass on the map with one long edge running from where you are to where you want to go. The direction-of-travel arrow points at the target.
- Turn the compass housing until the orienting lines inside it line up with the map's vertical grid lines, and the N on the housing points to the top of the sheet.
- Read the number at the index line. That's your grid bearing.
- Check the grid magnetic angle printed in the map legend and adjust as instructed. In Britain it's small at the moment — a degree or two in most places — but it shifts slowly year on year, so read it rather than guess.
- Hold the compass flat in front of you and turn your body until the red end of the magnetic needle sits inside the orienting arrow. The direction-of-travel arrow now points along your bearing.
Don't walk with your eyes glued to the compass. Pick something on the line — a boulder, a distinct patch of grass, the far end of a wall — walk to it, and take another sighting. Short, frequent checks beat one long stare.
Walking a bearing in fog
Fog, drizzle and featureless moorland pull you off line by degrees. A couple of degrees of error over a kilometre puts you well away from where you meant to be.
Pacing is the simplest correction. Count double paces — left foot, right foot — and learn your own count per 100m on flat ground, uphill and downhill. Most adults land somewhere near 65 to 70 double paces per 100m on level ground, with shorter steps climbing. Measure yours on a known stretch before you need it.
Three techniques do most of the work:
- Aiming off: if your target sits on a linear feature such as a stream, wall or track, deliberately aim a little to one side. You'll hit the feature either way, and you'll know which way to turn.
- Handrails: follow a physical line — a wall, a ridge, a stream — rather than holding an exact bearing over open ground. The map tells you where that handrail leads.
- Attack points: aim for an obvious feature near your target, then navigate the final short leg carefully.
Allow more time than you think. A common rule of thumb is roughly 5km/h on easy ground plus a minute for every ten metres of ascent; on rough, pathless terrain most hill walkers find 4km/h more realistic.
Relocation: when nothing matches
If the ground under your feet doesn't fit the map, stop. Walking on in hope is how a small error becomes
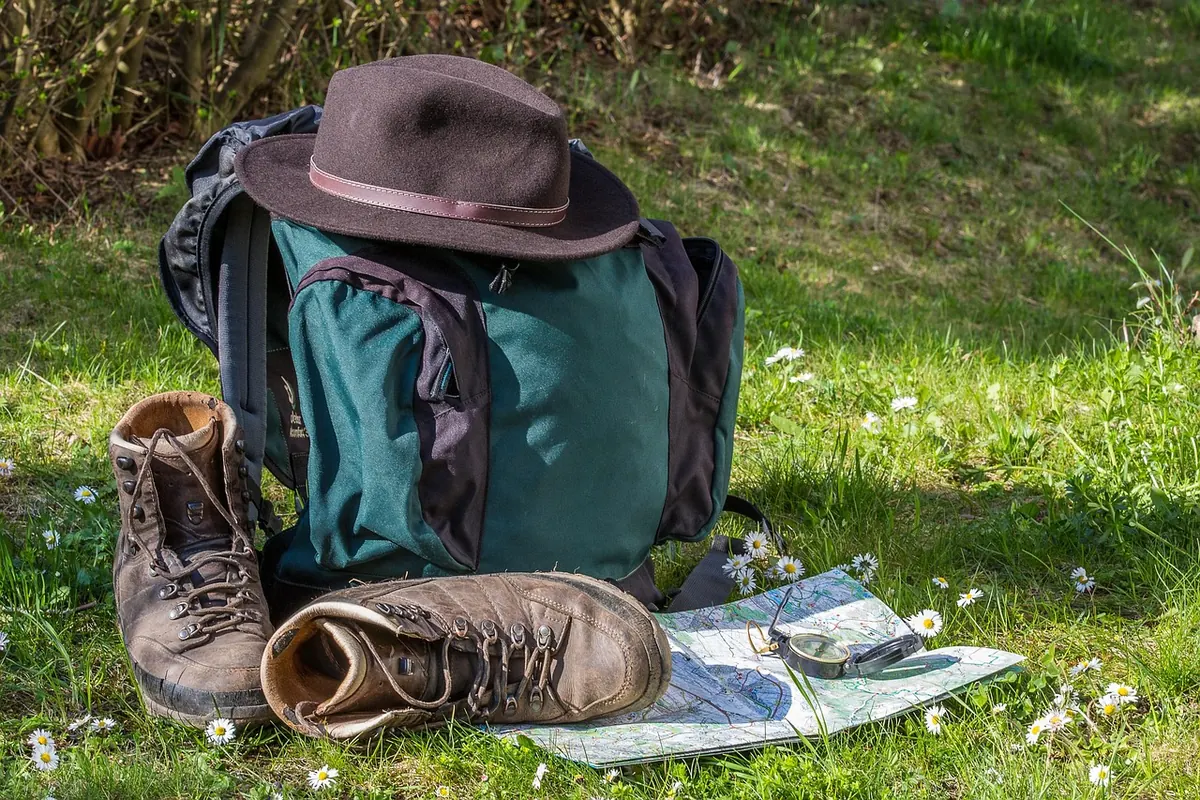
Photo: maxmann / Pixabay
Adventure Quests in New Zealand: 10 Challenges for Your Bucket List
Ten hiking, paddling and cycling challenges across New Zealand's North and South Islands, with honest...
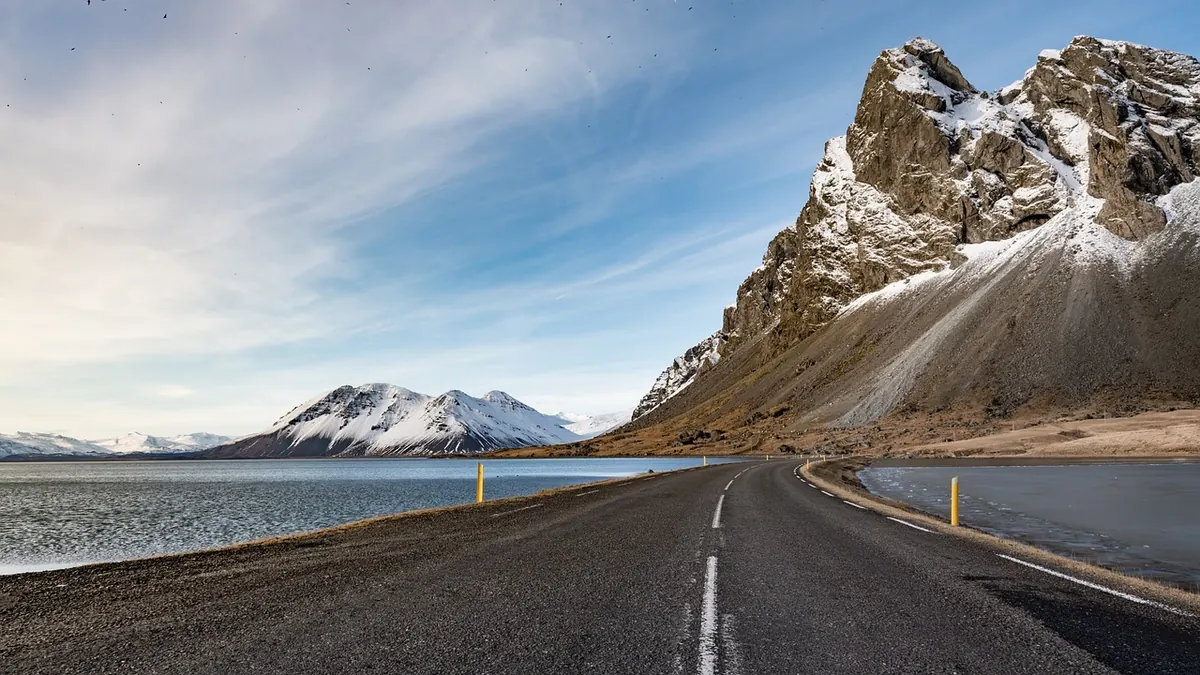
Solo Travel in Iceland: A Story of Weather, Roads and Wild Camping
Twelve days alone on Iceland's Ring Road: reading the wind, learning Route 1's habits, and how campsite...
About Us