Beginner's Via Ferrata Kit Checklist for the Dolomites
A guided via ferrata day in the Dolomites is one of the most accessible ways to get high into serious limestone without years of climbing behind you. Book a guide, hire the technical kit if you would rather not buy it yet, and most reasonably fit walkers with a head for heights can spend a day moving along cables, ladders and ledges with the Tofane or the Marmolada above them.
The kit, though, is not the same as a hillwalking list. Two items do the safety work — the harness and the lanyard — and they are the two you are least likely to own. Here is what a beginner needs for one guided day.
The Harness: Fit Beats Features
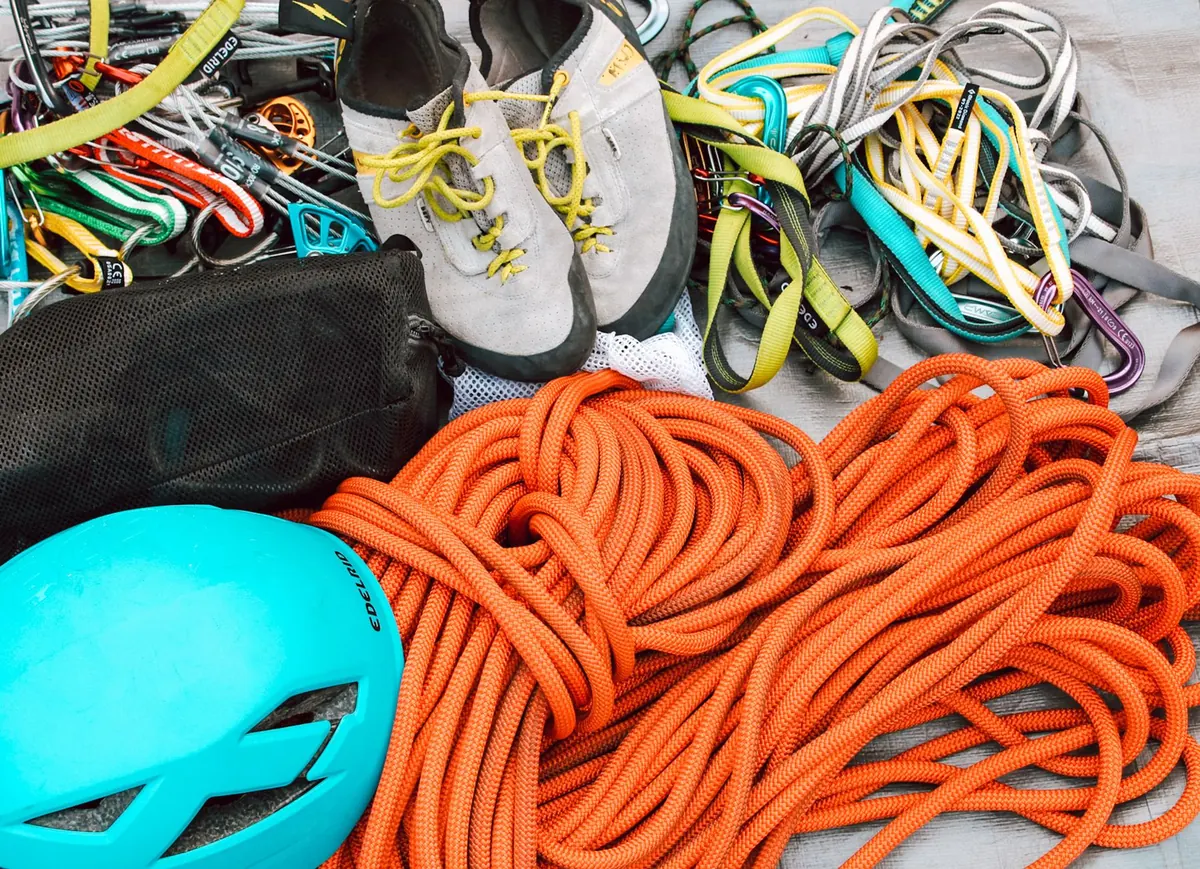
Any climbing sit harness made for mountaineering or rock will do, as long as it has a rated front attachment point and a belay loop. Nothing specialist is required, and the price rarely makes any difference to how safe you are.
Fit is everything. The waistbelt sits above your hip bones, tight enough that it cannot be pulled down over them; the leg loops are snug without pinching. Set the rear elastic risers so the leg loops stay where you put them. If you can, hang in the harness once before the trip — a harness that feels fine while you are standing in a car park can bite the moment it takes weight.
Padded leg loops are worth having. Via ferrata involves a lot of standing at anchors while the person ahead moves on, and thin alpine harnesses become uncomfortable quickly.
The Via Ferrata Lanyard
Never improvise this one. A proper via ferrata lanyard — sold as a "via ferrata set" — is two arms joined to a stitched energy absorber. In a fall, the stitching tears in stages and takes the sting out of the impact. A sling with two carabiners attached is not a substitute, however reassuring it looks.
When buying or hiring, check for:
- The EN 958 marking, the standard for energy-absorbing via ferrata systems.
- Two arms, so you can keep one clipped to the cable while you move the other. That is the whole point of the design.
- Elasticated arms, which tangle far less on ladders and in tight gullies than plain webbing.
- Carabiners with a wide gate and a locking sleeve — twist-lock or screwgate. Narrow gates are fiddly with cold hands.
- A short resting loop, if the design has one. It lets you hang comfortably at a stance instead of gripping the cable.
If you are hiring, run your hands along the webbing and look for cuts, fuzzy patches and worn stitching, and confirm the absorber is intact. Once it has been deployed in a real fall, the lanyard is finished and must be retired.
Helmet and Gloves
Take a climbing helmet to EN 12492, not a bike helmet: climbing helmets are tested for impacts from above, which is where rockfall comes from. It should sit level, cover your forehead, and stay put when you tip your head forward. A thin beanie underneath is fine; a bulky hat can throw the fit off. Helmets absorb one impact, so a second-hand one with an unknown history is a poor bargain.
Gloves are the item beginners most often leave behind and most often wish they had brought. Full-finger, snug, with a leather or reinforced palm: cable is abrasive and Dolomite rock is sharp. Thick winter gloves are a mistake, because you will fumble every carabiner. Cheap leather work gloves do the job. Clip them to your harness so you do not lose one on a ledge.
Clothing and Footwear
Dolomites weather shifts fast, and a route often starts in warm forest and finishes in cold wind. Dress in thin layers you can add or remove without taking your harness off.
- Baselayer: synthetic or merino, not cotton, which stays wet and chills you at the first stop.
- Mid-layer: a light fleece or thin grid fleece.
- Insulation in the pack: a light synthetic or down jacket for anchors, summits and the descent.
- Shell: windproof and water-resistant, with a hood that fits over your helmet.
- Trousers: quick-drying walking trousers. Nothing very baggy that can catch on rock or cable.
- Extras: a thin hat, spare liner gloves, and a neck gaiter rather than a loose scarf.
Footwear matters more than most beginners expect. Approach shoes or lightweight walking boots with sticky rubber and decent ankle support are ideal. Worn-out trainers and wellies give no grip on polished limestone, while stiff winter mountaineering boots are clumsy on the metalwork. Break your boots in before the trip and pack blister plasters.
What Else Goes in the Pack
A small pack of around 20 to 25 litres, worn high and close with the hip belt done up, so it does not swing while you climb. Inside, keep it simple: at least a litre and a half of water, food you will actually eat, sunscreen for your face and the backs of your hands, lip balm, sunglasses with a retention strap, a headtorch and a basic first aid kit. Add a charged phone and a small power bank, and leave the drone at home.
Hire or Buy for Your First Trip
For a single guided day, hire the harness, lanyard and helmet from your guide or a local shop in Cortina, Corvara or Canazei. These are the expensive items and the ones that need inspecting; buying them blind before your first route rarely makes sense. Boots, gloves, layers and a small pack are worth owning, because they are personal and you will use them again.
Check whether your travel or mountain insurance covers via ferrata, as some policies treat it as a separate activity, and ask your insurer or guide if you are unsure.
The Night Before: A Five-Minute Kit Check
Lay everything out and run through it once. Uncoil the lanyard and look for damage, then work each carabiner gate two or three times. Check the helmet for cracks and the harness for frayed stitching. Set the harness to your size and mark the webbing with a dab of tape, so tomorrow's adjustment is quick. Dry your boots. Fill your bottles.
Your guide will almost certainly check your kit before you set off, and will insist on a helmet and a proper lanyard. Turning up with both, correctly fitted, means the briefing can focus on the route instead — which is, after all, why you are there.
Photo: Gaelyn Salome / Pexels
Adventure Quests in New Zealand: 10 Challenges for Your Bucket List
Ten hiking, paddling and cycling challenges across New Zealand's North and South Islands, with honest...
Solo Travel in Iceland: A Story of Weather, Roads and Wild Camping
Twelve days alone on Iceland's Ring Road: reading the wind, learning Route 1's habits, and how campsite...
About Us